



Commercial Garage Equipment, Garage Advice, Garage Equipment, Tyre Bay Direct, Tyre Changers
The Complete Guide to Commercial and Passenger Tyre Changers
The tyre changing process is the operational heart of any automotive service center, fast-fit bay, or commercial fleet depot. Selecting the right tyre changing equipment dictates how efficiently your technicians work, how effectively you protect costly customer rims, and how much daily throughput your workshop can comfortably handle.
As modern automotive trends push wheel designs toward larger alloy diameters, ultra-low profile sidewalls, and complex run-flat construction, relying on outdated or undersized demounting tools creates severe bottlenecks. This definitive guide covers everything garage owners and technicians need to know about tyre changer technology tiers, run-flat demounting techniques, bead seating systems, brand progression, and package economics.
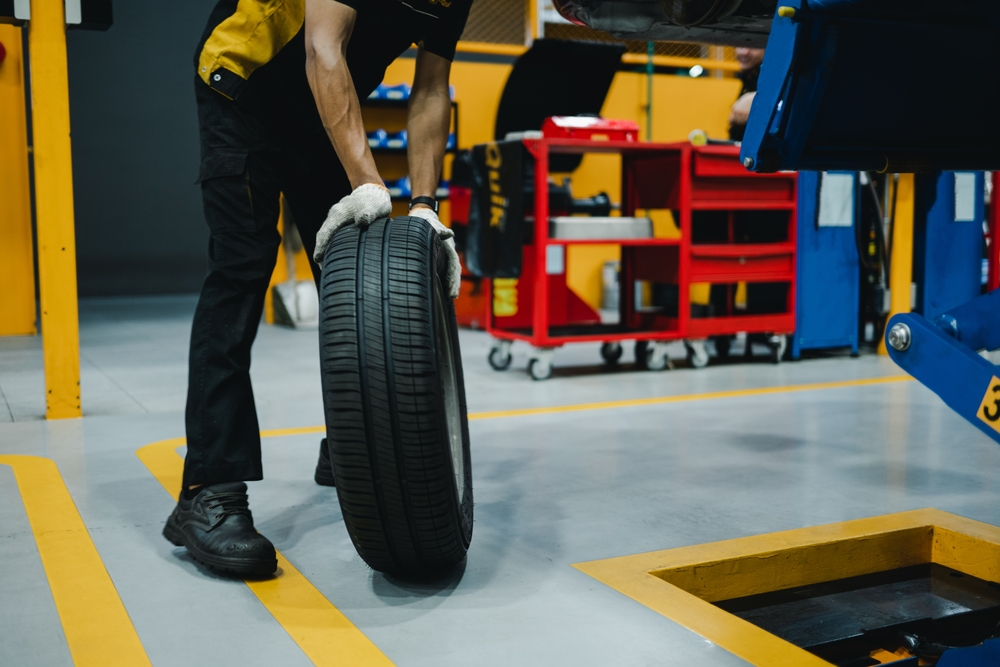
The Evolution of Tyre Demounting Technology
Tyre changing machinery has evolved dramatically from traditional manual rim clamps and heavy automotive hand tools. Modern garage equipment focuses on minimizing physical labor, eliminating alloy wheel damage, and speeding up floor-to-floor cycle times.
Manual Tyre Changers
Manual tyre changers rely entirely on physical lever force coupled with mechanical foot pedals or manual clamps. While historically popular for low-volume repair shops, manual units are virtually obsolete for high-frequency passenger car fitment. They lack the clamping force and motorized rotational torque necessary to manage modern stiff sidewalls without scratching high-finish alloy rims. However, compact manual or portable units still find occasional utility in emergency field repair kits or mobile tyre fitting equipment setups.
Swing-Arm Semi-Automatic Machines
Semi-automatic tyre changers are standard entry-level tools for general repair garages.
- Design and Operation: The demount head is attached to a heavy steel arm that manually swings horizontally over the turntable into position. The operator uses a manual screw handle or lock to set the clearance between the mount head and the rim edge before locking it in place.
- Best Application: General MOT stations, independent service garages, and low-to-medium volume workshops handling standard steel and OEM alloy wheels up to 22 inches or 24 inches in diameter.
Tilt-Column Fully Automatic Machines
Fully automatic machines featured across our primary tyre changers category incorporate a heavy pneumatic rear column that tilts backward at the press of a foot pedal, allowing rapid loading and unloading of heavy wheel assemblies.
- Design and Operation: Once the demount head clearance is set for a specific wheel size, the pneumatic tilt column returns to the exact same position for every subsequent wheel of that size. The demount head automatically locks pneumatically in both vertical and horizontal directions simultaneously.
- Efficiency Gains: Automating the column clearance cuts repetitive setup adjustments when processing sets of four identical wheels. This design dramatically speeds up cycle times for busy tyre bays.
Leverless and Touchless Machines
Leverless technology represents the pinnacle of modern wheel demounting safety and speed, as discussed throughout our garage equipment blog articles.
- Design and Operation: Traditional demounting requires the technician to insert a steel tyre lever between the bead and mount head to pry the rubber over the duckhead tool. Leverless tyre changers replace the manual lever with an integrated pneumatic or hydraulic finger tool. The automated hook gently slips underneath the tyre bead, lifts it over the rim flange, and rotates the assembly without any manual pry lever force.
- Risk Reduction: Because no metal lever is forced against the rim lip, leverless equipment eliminates customer damage claims on expensive diamond-cut or painted alloy wheels.
Tyre Changer Technology Comparison
Matching machine capabilities to your primary vehicle workload ensures you do not under-equip your bay or overspend on unnecessary features.
| Equipment Class | Primary Operation | Rim Size Capability | Ideal Vehicle Types | Key Operational Advantage |
|---|---|---|---|---|
| Swing-Arm Semi-Automatic | Manual arm positioning, pedal-controlled rotation | 10″ to 22″ | Standard passenger cars, light trailers | Low initial purchase cost, simple mechanics |
| Tilt-Column Automatic | Pneumatic rear tilt column, auto-locking head | 10″ to 26″ | Passenger cars, SUVs, light commercial vans | Fast repetitive cycle times on full wheel sets |
| Leverless / Touchless | Integrated hook finger, zero manual tyre irons | 12″ to 30″ | High-performance vehicles, ultra-low profiles | Zero rim contact, eliminates alloy damage claims |
| Commercial / HGV | Heavy hydraulic jaw chuck, floating demount arm | 14″ to 56″+ | Commercial trucks, buses, agricultural rigs | Handles extreme mass and massive tire diameters |
Mastering Run-Flat and Low-Profile Demounting
Servicing stiff run-flat tires or ultra-low profile rubber requires specialized force application and dedicated tyre machine adaptors and accessories. Attempting to demount a run-flat tyre on a standard swing-arm machine without auxiliary aid risks tearing the internal tire bead, bending the demount head, or gouging the alloy surface.
The Role of Assist Arms and Helper Systems
Pneumatic assist arms, often called helper arms or third-arm systems, are indispensable additions to modern tyre changers.
| Mechanism Run-Flat Assist Arm Force Vector Diagram |
| Component A Demount Head |
➔ | Target Zone Stiff Run-Flat Sidewall ⬆ Assist Arm Press Block
|
➔ | Goal Clearance Drop-Center Well |
- Maintaining the Drop Center: To remove or fit a tyre, the rubber bead must rest inside the deep drop-center channel of the rim wheel bed. Because run-flat sidewalls are exceptionally rigid, they naturally fight entering this channel.
- Multi-Point Pressure: Assist arms feature heavy-duty pneumatic rollers, press blocks, and rotating cones. They press down firmly on the upper sidewall while the turntable spins, forcing the tyre bead directly into the drop-center well and holding it there while the demount head effortlessly guides the rubber over the rim lip.
Technicians handling modern vehicles fitted with sensitive TPMS sensors must position the demount head carefully relative to the valve stem to prevent snapping the sensor housing during bead breaking and demounting.
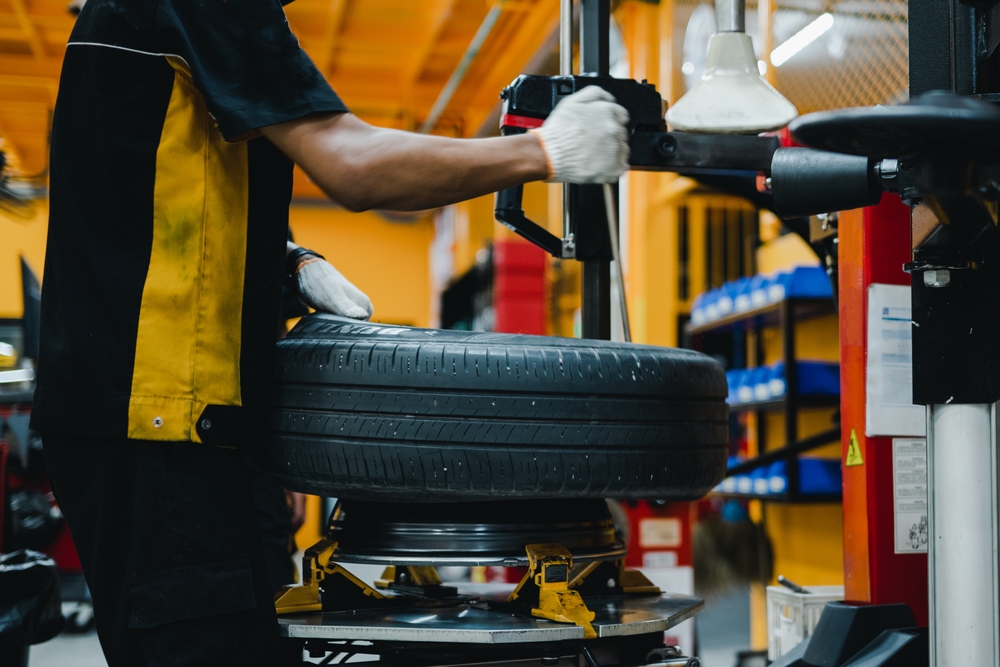
Bead Seating, Inflation, and Auxiliary Workshop Tools
Breaking stiff beads and seating fresh tyres onto rim flanges requires controlled pneumatic delivery systems paired with reliable air compressor accessories.
Bead Breakers
The side-mounted bead breaker blade is the first point of contact on any changing machine. High-performance units feature double-acting pneumatic cylinders that deliver upwards of 2,500 kg to 3,000 kg of force. High-end machines incorporate adjustable blade angles and plastic blade protectors to prevent steel contacts against the outer rim face.
Integrated Jet Seating and External Bead Blasters
When fresh tyres are mounted onto wide alloy rims, a gap often remains between the tyre bead and the rim flange, preventing standard air hoses from inflating the tire. Exploring topics in our nitrogen tyre inflation articles and inflation guides highlights how rapid air delivery stabilizes tyre beads.
- Integrated Turntable Inflation Jets: High-speed inflation systems direct a high-pressure blast of compressed air through nozzles built directly into the turntable clamping jaws. This burst expands the tyre sidewalls instantly, sealing the bead against the rim so normal inflation can take over.
- External Bead Blaster Tanks: Portable, hand-held bead cannons feature a pressure vessel equipped with a quick-release butterfly valve and flattened discharge nozzle. The operator places the nozzle against the rim gap and releases a controlled air charge, instantly popping stubborn commercial or low-profile beads into position.
Pneumatic Tyre Spreaders
For puncture repair bays using quality tyre repair materials and sealants, demounting the tyre is only step one. Pneumatic tyre spreaders use adjustable hooks and air-driven platforms to hold the tyre casing open, allowing technicians to inspect internal radial plies, prepare inner liners, and apply permanent patches using appropriate tyre repair tools and accessories.
Upgrading Your Equipment: Brand Progression and Capability
Garage owners frequently re-evaluate equipment lines as their daily work volume grows. Understanding brand positioning helps match equipment investment to workshop turnover.
Entry-Level and General Service Solutions
Budget-friendly options like the Redback range provide accessible entry points for new start-up garages, mobile fitters, or auxiliary bays where tyre fitting is a supporting service rather than the main revenue generator. Modern upgrades across these entry lines have added reinforced chassis structures and improved clamping jaws to ensure reliability on routine passenger cars.
High-Volume Workhorses
Mid-tier ranges such as Unite equipment represent the core workhorse segment for busy independent repair shops. These units combine heavy-duty tilt-column chassis designs with dual-stage pneumatic assist arms, giving mechanics the strength and flexibility to handle run-flat tyres and commercial van fitments effortlessly day in and day out.
Premium Commercial and Dealership Equipment
High-turnover centers, main dealerships, and specialized tyre shops often rely on advanced Atlas equipment setups. These feature high-torque variable-speed turntables, full leverless demount heads, optical rim protection controls, and heavy pneumatic wheel lifts that eliminate technician fatigue during long working shifts.
Step-by-Step Workflow for Maximum Cycle Efficiency
Optimizing your tyre changing workflow reduces floor-to-floor times, prevents technician injury, and avoids costly rework. Review our complete garage advice section for more operational tips.
| Workflow Tyre Demount & Fitment Sequence |
| Step 01 1. Inspection & TPMS |
➔ | Step 02 2. Valve Core Removal |
➔ | Step 03 3. Bead Breaking |
| Step 06 6. Inflation & Seating |
⬅ | Step 05 5. Mounting Fresh Tyre |
⬅ | Step 04 4. Demounting |
- Inspection and Sensor Location: Inspect the wheel for existing rim damage. Locate the valve stem and position it away from the bead breaker shoe to avoid crushing internal TPMS sensors.
- Deflation and Valve Removal: Remove the valve core completely to ensure rapid, total air discharge before breaking beads.
- Bead Breaking: Position the bead breaker blade slightly back from the rim edge, touching only the rubber sidewall. Apply force on opposing sides of the wheel until both upper and lower beads drop into the center channel.
- Clamping and Lubrication: Clamp the wheel securely onto the turntable (outside clamping for alloy rims to avoid jaw marks, inside clamping for steel wheels). Apply high-quality tyre mounting paste liberally around both upper and lower tire beads and the rim flanges.
- Demounting Procedure: Bring the demount head into contact with the rim edge, lock its clearance, and use an assist arm or tire lever to lift the top bead over the duckhead tool. Rotate the turntable clockwise. Repeat the process for the lower bead.
- Mounting and Bead Seating: Position the new tyre over the rim at an angle. Use the demount head and assist arm to guide the lower bead into the rim well, followed by the upper bead. Inflate the tyre using controlled pressure until both beads pop firmly onto the safety humps.
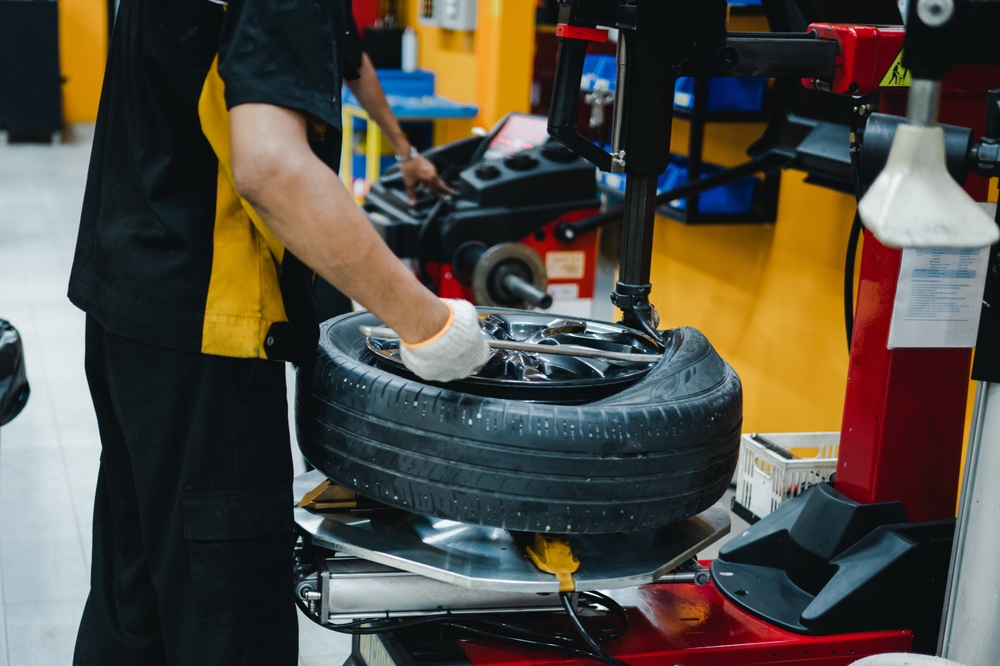
The Economics of Tyre Machine Packages
Outfitting a fresh garage bay or modernizing an existing shop floor is usually most cost-effective when purchasing bundled equipment.
Financial and Operational Advantages
- Bundled Cost Discounts: Purchasing tyre machine packages that combine a tyre changer and matching wheel balancer significantly reduces total capital expenditure compared to buying individual units separately.
- Unified Service and Parts: Outfitting your bay with matching machine sets streamlines technician training, standardizes power and air supply requirements, and simplifies ordering spare parts for tyre changers.
- Balanced Throughput Capacity: Matching machine capabilities prevents workshop bottlenecks. Pairing an automated tilt-column changer with a fast 3D automatic wheel balancer ensures both demounting and balancing steps take roughly equal time per wheel set.
Practical Installation and Maintenance Checklist
Regular preventative maintenance ensures operational safety, extends machine lifespans, and preserves accurate clamping forces.
- Clean Air Supply: Connect the machine to high-volume garage air compressors fitted with an inline air filter, regulator, and lubricator (FRL unit). Water in compressed air lines corrodes internal pneumatic cylinders and valves.
- Turntable Jaw and Plastic Protection: Regularly inspect rubber and plastic jaw covers, demount head inserts, and bead breaker blade guards. Replace worn plastic protectors immediately to prevent bare metal tools from scratching customer alloy rims.
- Daily Cleaning and Lubrication: Clear rubber debris and metal shavings from the turntable slides, vertical shaft, and clamping gears at the end of every shift. Keep moving mechanical joints, pivot pins, and assist arm shafts lightly greased.
- Consumables Inventory: Maintain a healthy stock of essential tyre fitting consumables, including quality lube paste, valves, balance weights, and replacement demount head inserts. Check out our garage consumables articles for advice on seamless daily bay operations.
Equipping Your Bay for Maximum Throughput
Upgrading your tire changing equipment directly enhances service quality, protects expensive customer wheels, and reduces physical strain on your technicians. Whether you need an entry-level swing-arm unit, a heavy-duty commercial truck changer, or a complete leverless automatic fitting system, choosing commercial-grade machinery guarantees immediate returns on shop productivity. Explore additional operational insights in our tyre changers blog category and commercial garage equipment articles.
Explore the Range and Talk to the Experts
- Browse Equipment Options: Visit our full product catalog to explore tyre changers, check out current special offers, or explore quality second hand tyre fitting equipment.
- Need Tailored Advice? Our technical specialists are ready to help you analyze your workshop dimensions, vehicle mix, and equipment budget. Contact Tyre Bay Direct today or request a quote online to equip your workshop with the industry’s finest demounting solutions.